Term dates, assemblies, concerts and school closures.
Adding an event
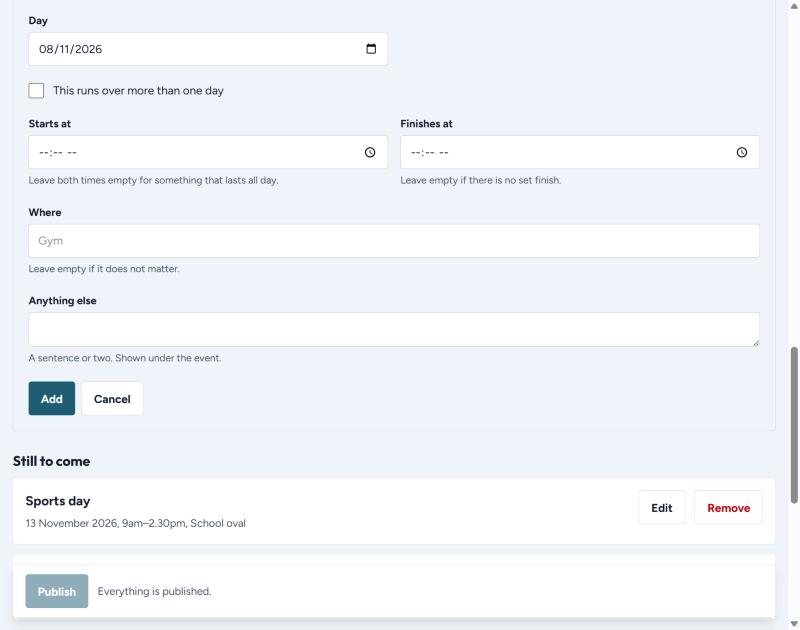
- Press + Add event.
- What it is — for example "School photo day".
- Day — the date. For something longer, tick This runs over more than one day and give the first and last day. The last day is the day it actually runs, not the day after.
- Starts at and Finishes at — leave both empty for an all-day event. Leave the finish empty if there is no set end.
- Where — the hall, the oval. Leave empty if it does not matter.
- Anything else — a sentence shown under the event.
- Press Add, then Publish.
Leaving weekends off
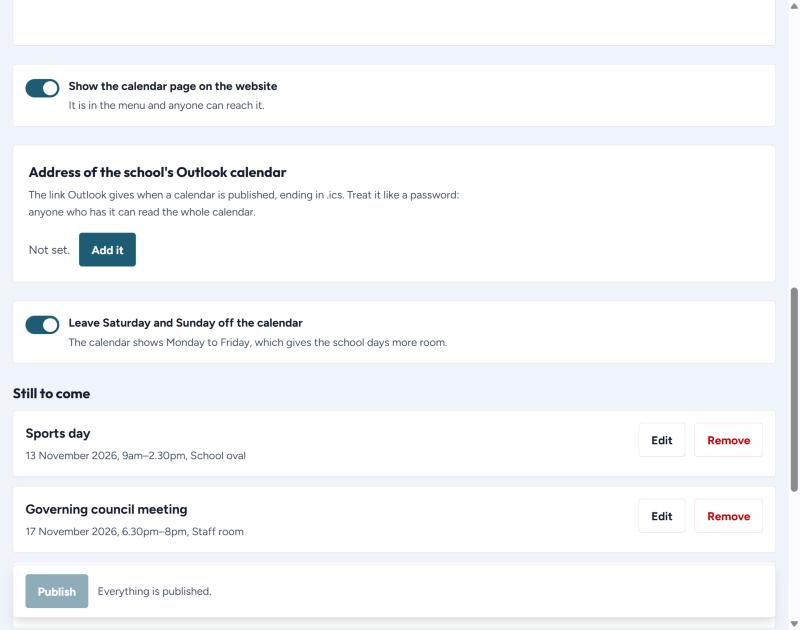
Leave Saturday and Sunday off the calendar shows Monday to Friday only, which gives the school days more room. Turn it off if you run weekend events.
Using the school's Outlook calendar
If the school keeps its events in Outlook already, the website can read them, so nobody types them twice.
- In Outlook, publish the calendar and copy the link it gives you. It ends in
.ics. - In the admin, under Address of the school's Outlook calendar, press Add it.
- Paste the whole address and press Save.
Treat that link like a password
Anybody who has it can read the whole calendar. Do not put it in an email to a parent, do not post it, and do not write it on a page. The admin only ever shows you the tail end of it after it is saved.